
It’s the end of an era for the iOS ecosystem. After 15 years as the de facto dependency manager for iOS, CocoaPods is retiring.
Mark your calendar: December 2, 2026. That is the day the CocoaPods trunk goes permanently read-only. While existing pods will remain accessible, no new pods or updates can be published. It’s time to move on.
The Legacy of CocoaPods
Before we rush to migrate, it’s worth acknowledging what CocoaPods achieved. It brought order to the chaos of manual dependency management (remember dragging .xcodeproj files and linking binaries manually?). It democratized open source in the Apple ecosystem. But as Swift has matured, the tooling has evolved.
Why Move to Swift Package Manager (SPM)?
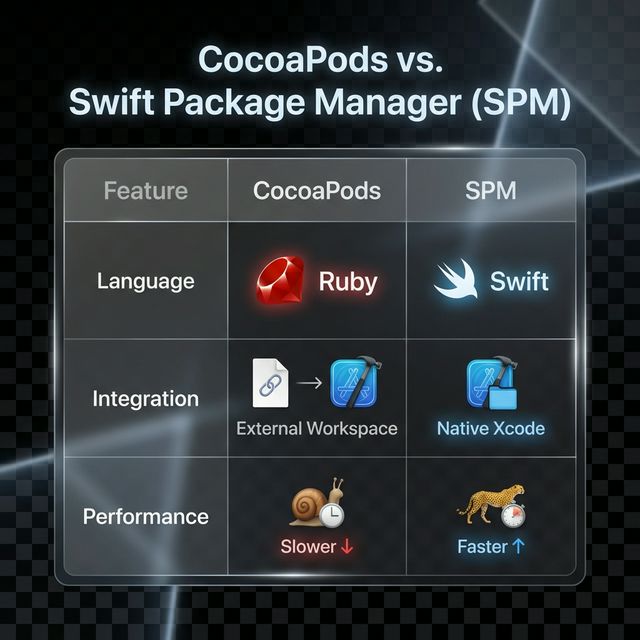
Apple’s official answer to dependency management, Swift Package Manager, has grown up.
- Native Integration: It’s built directly into Xcode. No context switching to terminals or managing a separate workspace.
- No Ruby: Say goodbye to
rbenv,Gemfile, and Ruby version conflicts that break your CI/CD. - Performance: SPM leverages Swift’s build system for faster dependency resolution and indexing.
Migration Strategy: The “Long Way” Home
Migrating a large project isn’t just about deleting a file. It requires a strategy.
Step 1: Audit Your Dependencies
First, list every pod you currently use. Check their repositories to see if they support SPM (most popular ones like Alamofire, Kingfisher, and Lottie already do).
  flowchart TD
    Start[Start Migration] --> Audit{Audit Dependencies}
    Audit -->|All support SPM?| Simple[Switch to SPM]
    Audit -->|Some missing?| CheckAlt[Check Alternatives/Forks]
    CheckAlt -->|Found?| Simple
    CheckAlt -->|No support?| Hybrid[Keep minimal Podfile]
    Simple --> RemovePod[Remove Podfile]
    Hybrid --> Reduce[Migrate what you can]
Step 2: Clean Up CocoaPods
Before adding new packages, you need to strip out the old integration.
- Deintegrate: Run the following command in your project directory:
1pod deintegrate - Clean Files: Delete
Podfile,Podfile.lock, and the.xcworkspace. From now on, you’ll open the.xcodeprojdirectly.
Step 3: Adding Packages in Xcode
This is where the magic happens.
Action Required:
- Open Xcode.
- Go to File > Add Package Dependencies…
- Paste the URL of the package repository (e.g.,
https://github.com/Alamofire/Alamofire).- Choose your version rules (typically “Up to Next Major”).
(Insert Screenshot here: Show the Xcode “Add Package Dependency” dialog with a search result visible)
Step 4: Handling Resources and Objective-C
SPM handles resources (images, json, xibs) differently.
- Bundles: If you were accessing resources via a specific bundle ID in CocoaPods, you might need to switch to using
Bundle.module(available automatically in SPM packages). - Obj-C Flags: If you have legacy Objective-C dependencies, ensure you check the “Build Settings” for Linker Flags. SPM usually handles this, but sometimes you may need to add
-ObjCmanually if a comprehensive static library is involved.
Common Pitfalls
- Dynamic vs Static: CocoaPods defaults to static libraries (unless
use_frameworks!is set). SPM tries to interpret the package manifest. If you get duplicate symbol errors, check if you are linking a static library in multiple targets. - CI/CD: Update your pipeline (
.github/workflowsor Fastlane). You no longer needpod install. Instead, add a step to resolve package versions if you cache them:1xcodebuild -resolvePackageDependencies
Conclusion
The deadline is 2026, but the best time to migrate is now. By moving to SPM, you simplify your project capability and align with the future of Apple development.
Start now. Go slow. And yeah — thanks for everything, CocoaPods!